Foam rolling is an essential practice for athletes, offering numerous benefits such as improved flexibility, faster recovery, and reduced muscle soreness. By incorporating foam rolling into your routine, you can enhance your athletic performance and prevent injuries. Below are some essential foam rolling exercises to include in your routine, along with top-rated foam rollers that offer unique benefits.
Top-Rated Foam Rollers
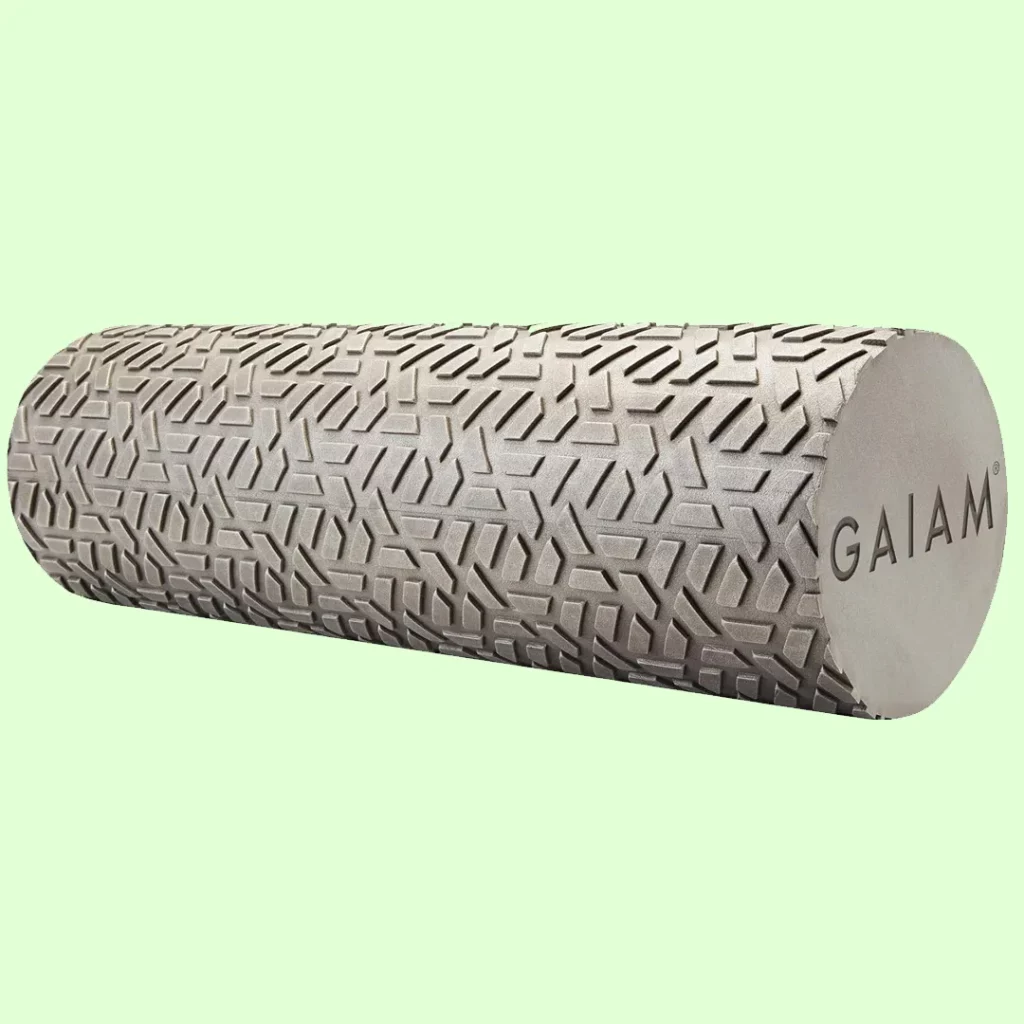
This durable foam roller is great for deep-tissue massage and is ideal for athletes of all levels.
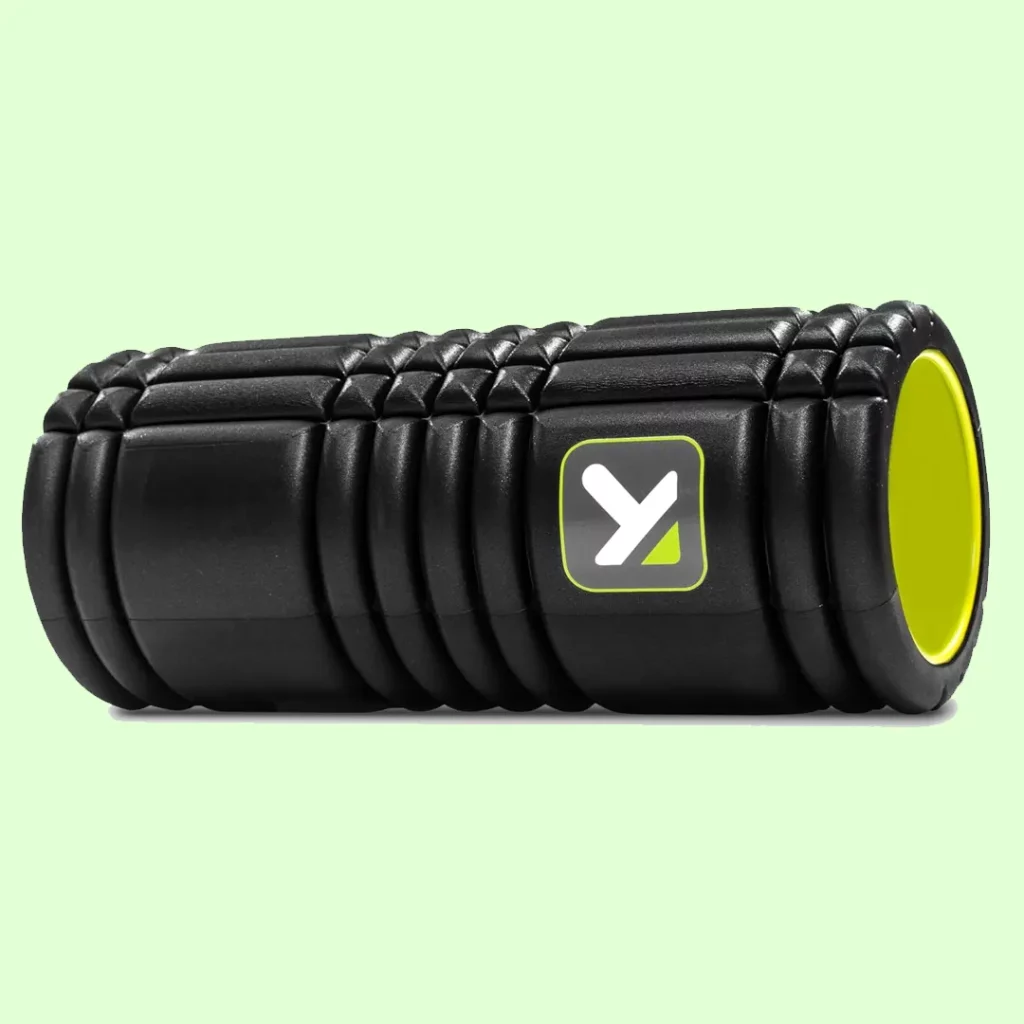
Known for its multi-density surface, this foam roller helps channel blood and oxygen while you roll, making it a favorite among professional athletes.
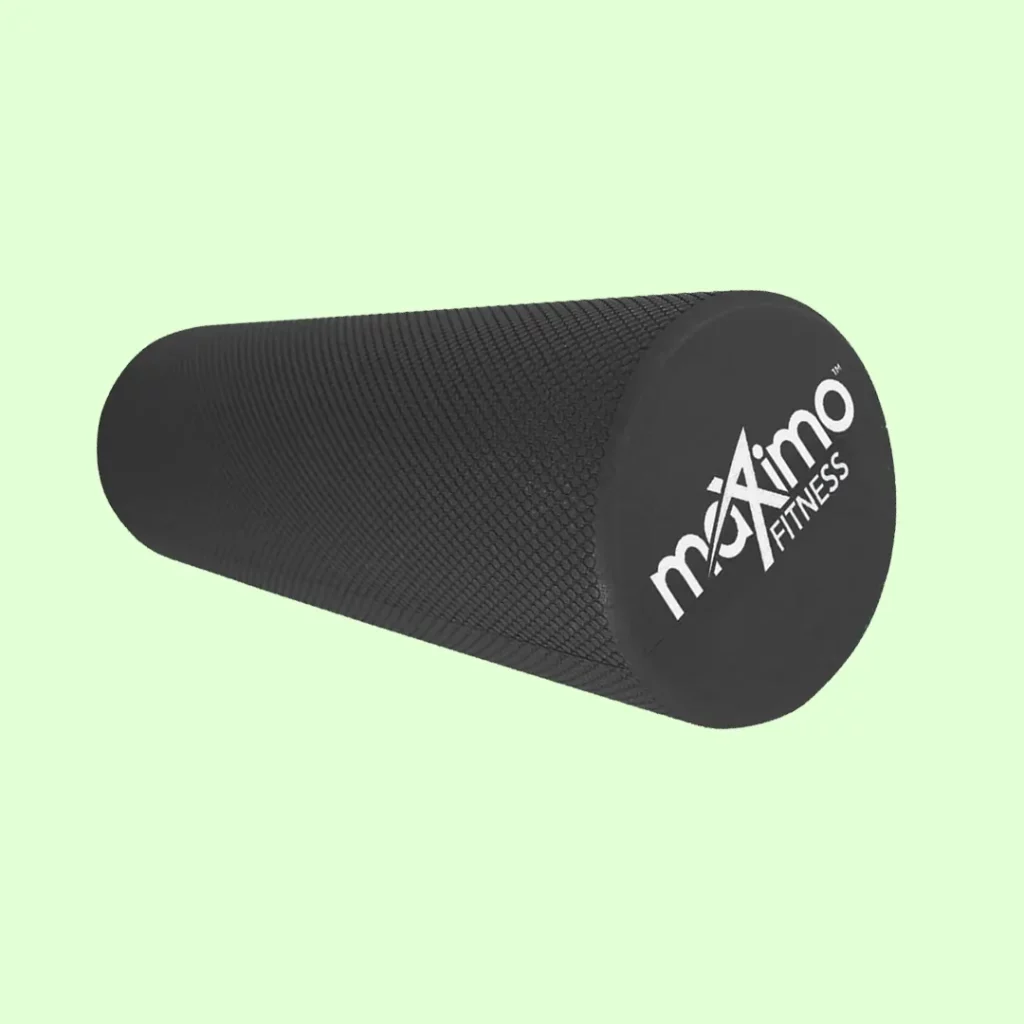
A budget-friendly option that offers firm support, perfect for targeting tight muscles.
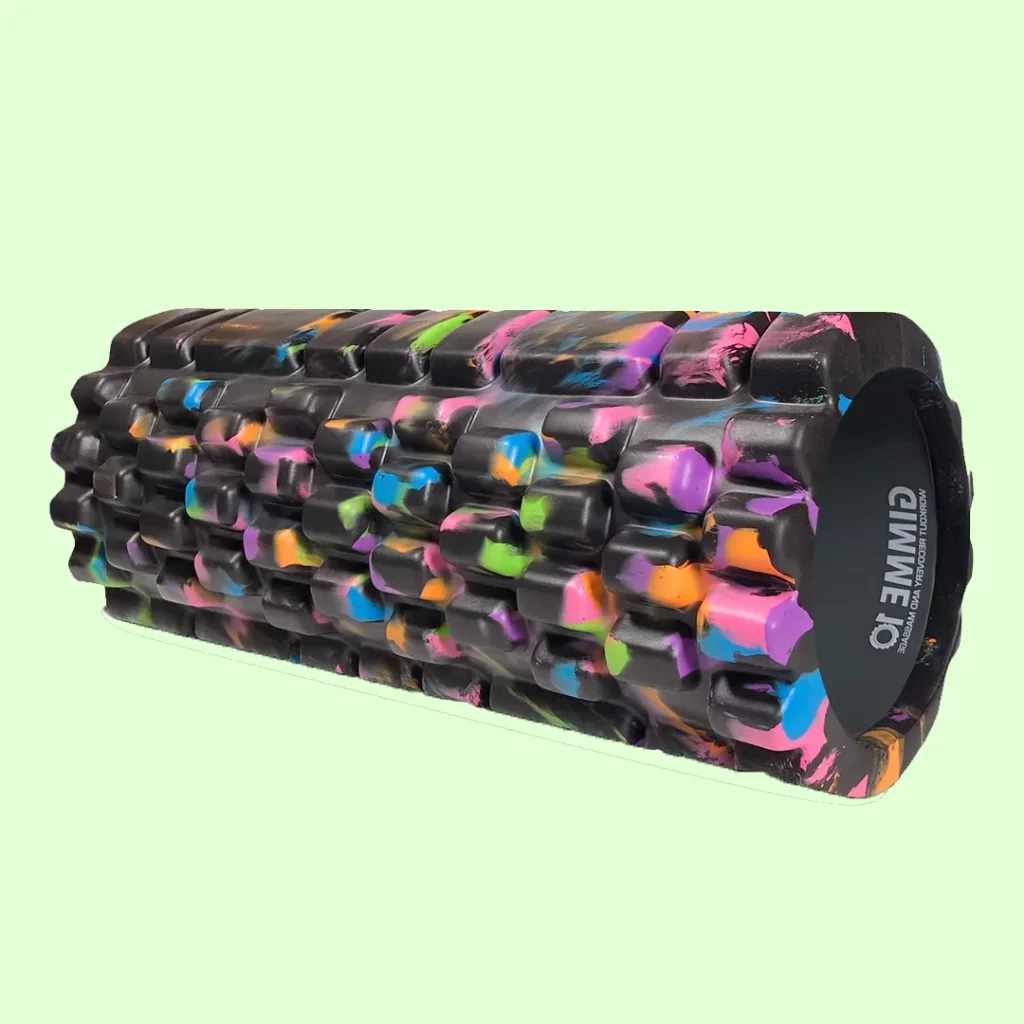
Designed with unique textured bumps, this roller digs into knots and tight muscles for a more intense massage experience.
Essential Foam Rolling Exercises for Athletes
Here are some effective foam rolling exercises to incorporate into your routine:
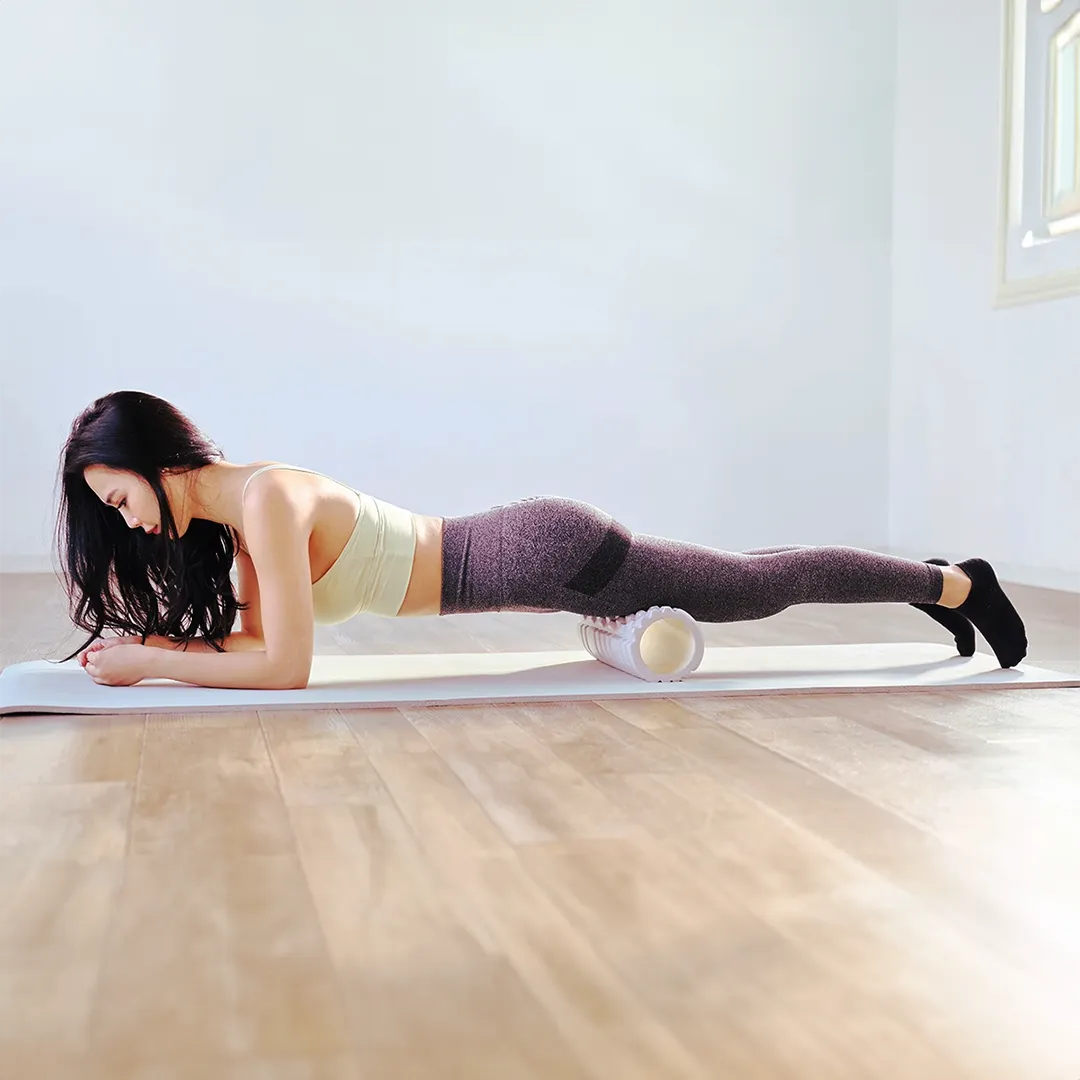
1. Quadriceps
Steps:
- Lie face down on the floor with the foam roller positioned under your thighs.
- Begin rolling from your knees towards your hips.
- Adjust your body weight as needed to target specific areas of tension.
- Continue rolling for 30 seconds to one minute, or as needed.
2. Hamstrings
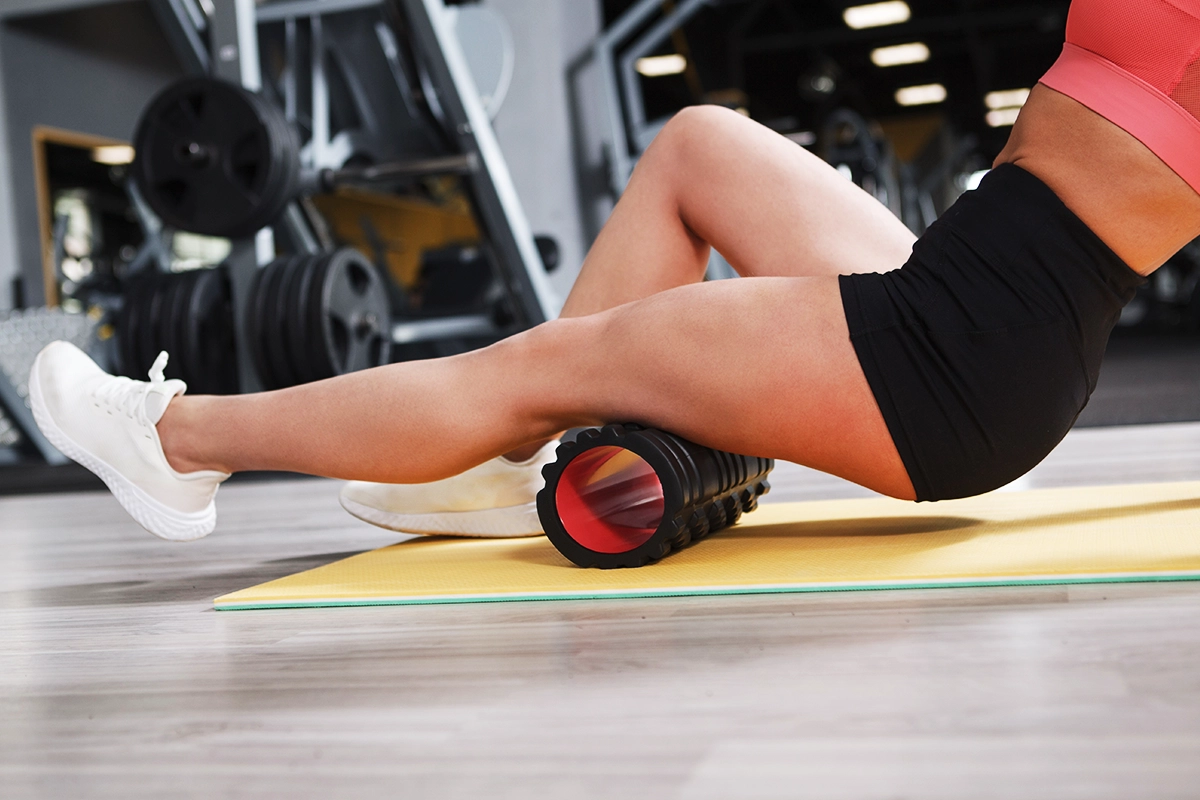
Steps:
- Lie on your back with the foam roller under your thighs.
- Bend one knee and place the foot on the ground for support.
- Roll from your knees towards your glutes.
- Repeat on the other leg.
3. Calves
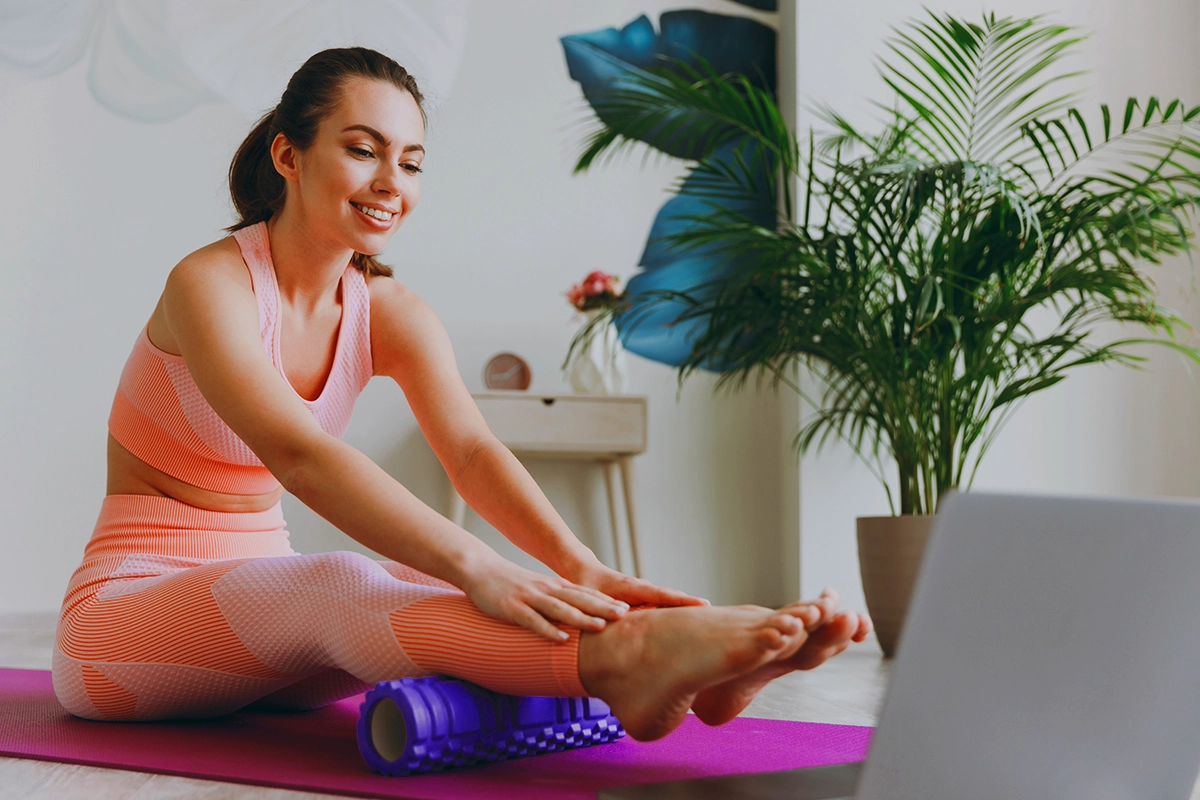
Steps:
- Sit on the floor with your legs extended and the foam roller placed under your calves.
- Begin rolling back and forth, applying pressure as needed.
- Focus on tight areas by pausing and applying pressure.
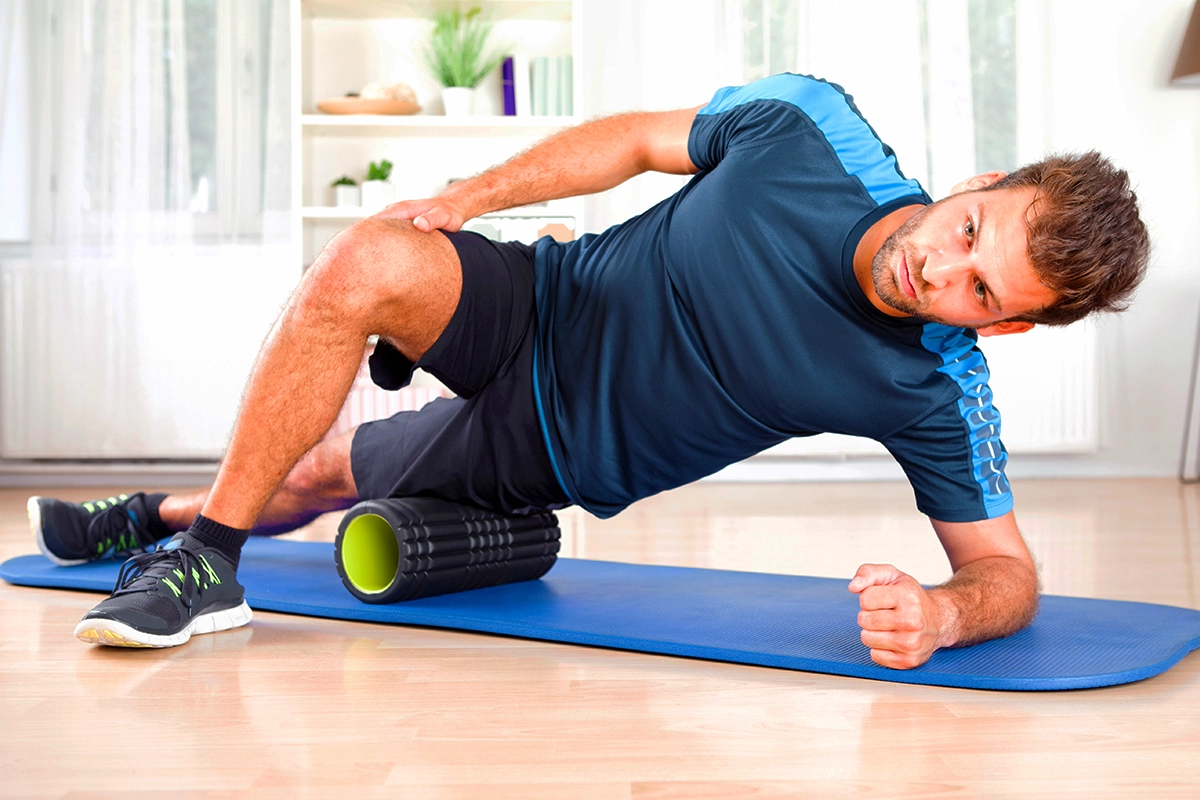
4. IT Band
Steps:
- Lie on your side with the foam roller positioned under your hip.
- Cross your top leg over your bottom leg for support.
- Use your bottom arm to support your head.
- Roll from your hip to your knee, applying pressure as needed.
- Repeat on the other side.
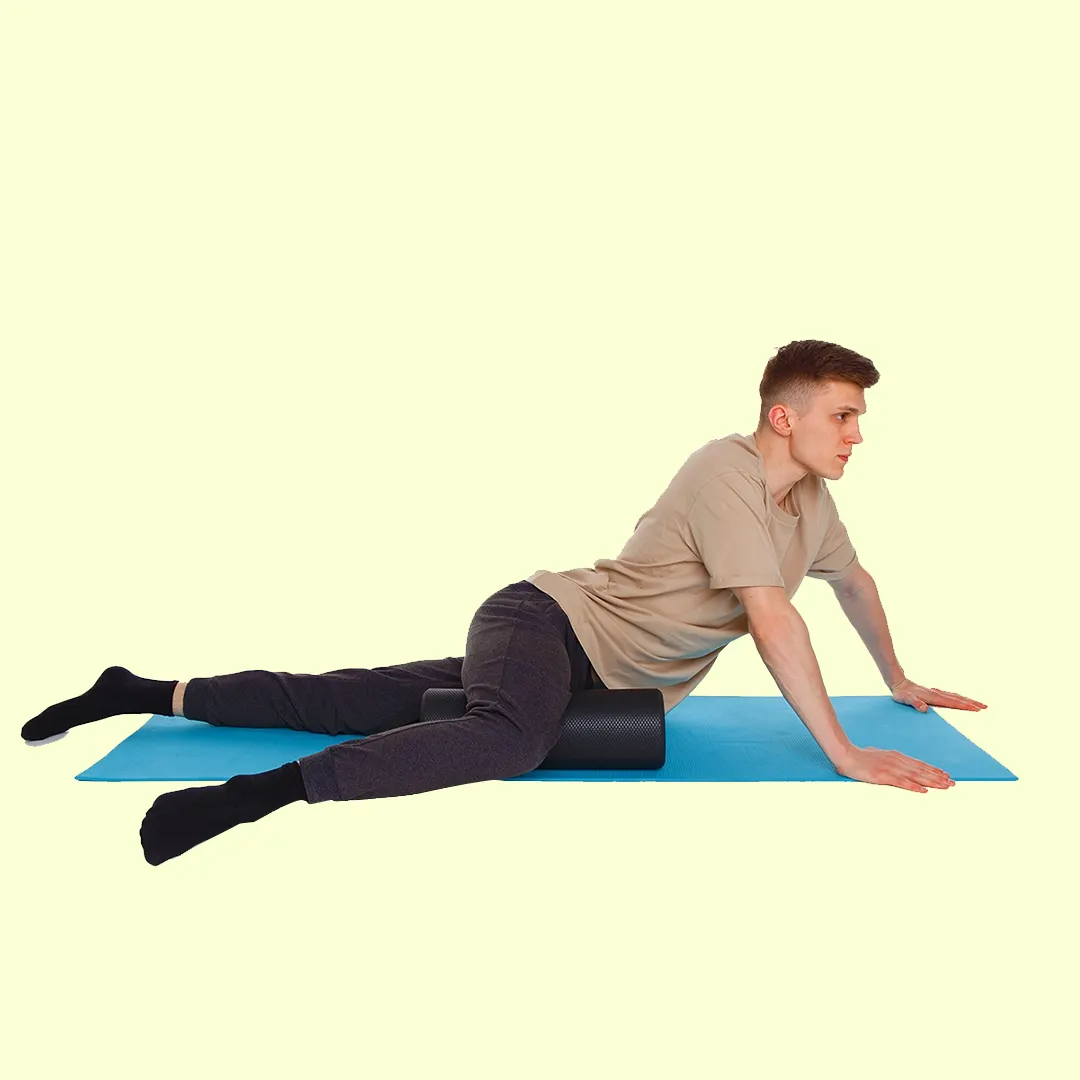
5. Adductors
Steps:
- Sit on the floor with your legs extended and the foam roller placed between your inner thighs.
- Begin rolling from your groin towards your knees.
- Adjust your body weight to target specific areas of tension.
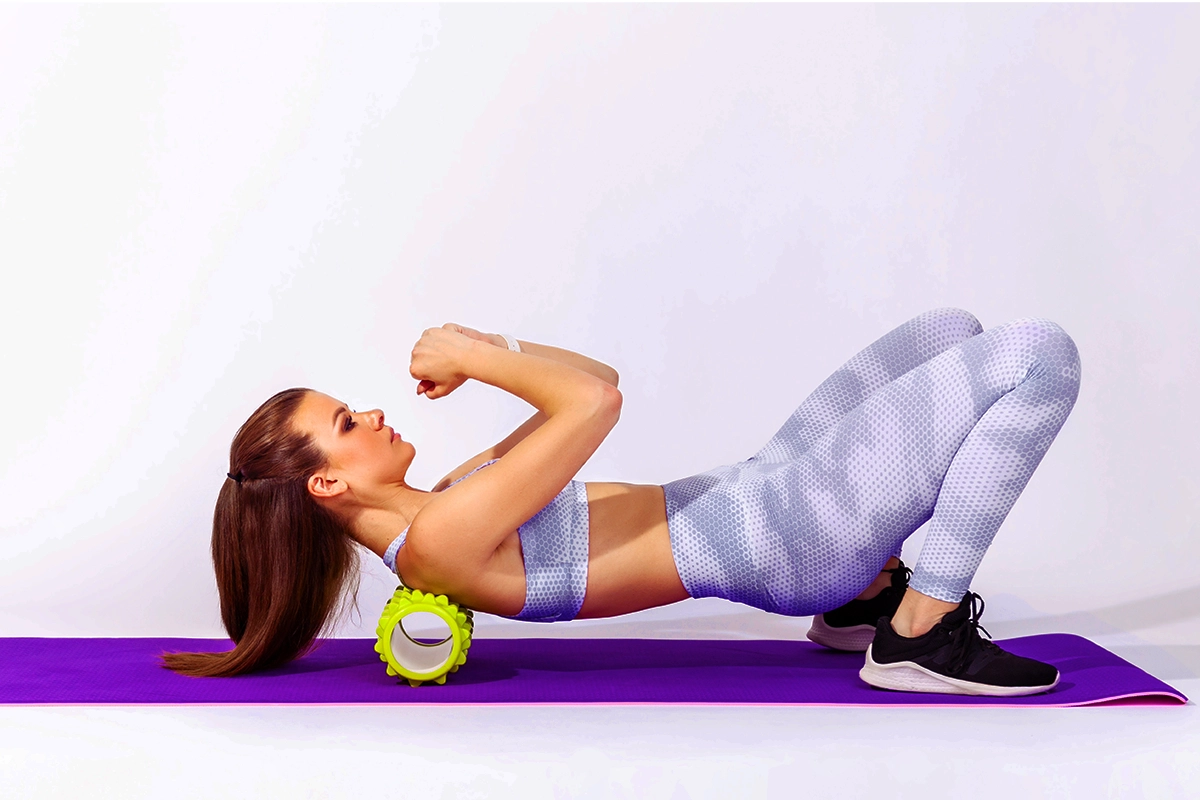
6. Back
Steps:
- Lie face down on the roller, positioning it along your spine.
- Support your head with your hands, and bend your knees for stability.
- Slowly roll up and down your back, focusing on areas of tension.
- For more targeted relief, pause on specific areas and apply pressure.
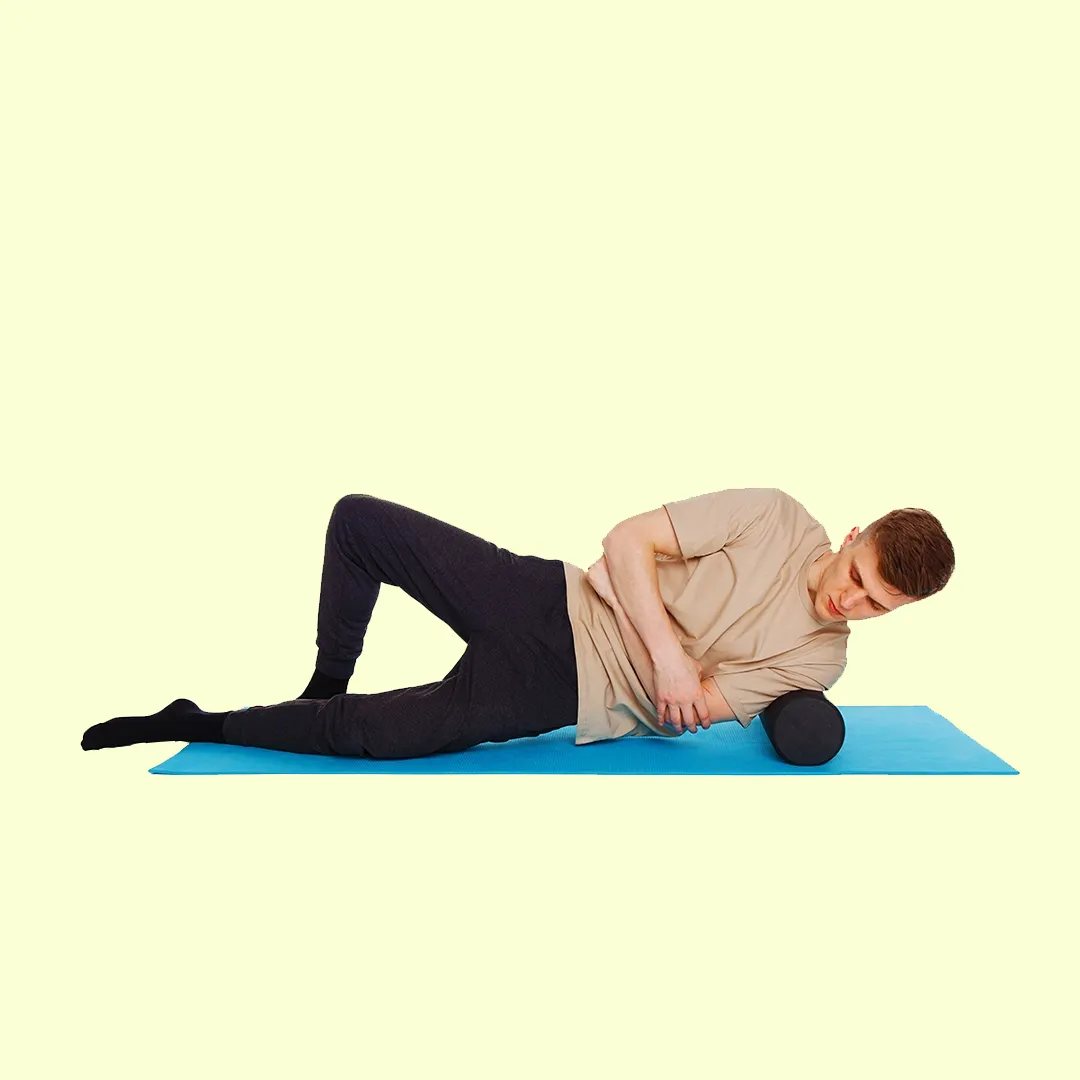
7. Shoulders
Steps:
- Sit on the floor with the foam roller behind your shoulders.
- Lean back and support your body weight with your hands.
- Roll your shoulders back and forth, focusing on areas of tension.
- For deeper release, pause on tight spots and apply pressure.
8. Chest
Steps:
- Lie face down on the floor with the roller positioned under your chest.
- Extend one arm forward and the other arm resting on the floor for support.
- Roll your chest back and forth across the foam roller, focusing on areas of tension.
- Repeat on the other side.
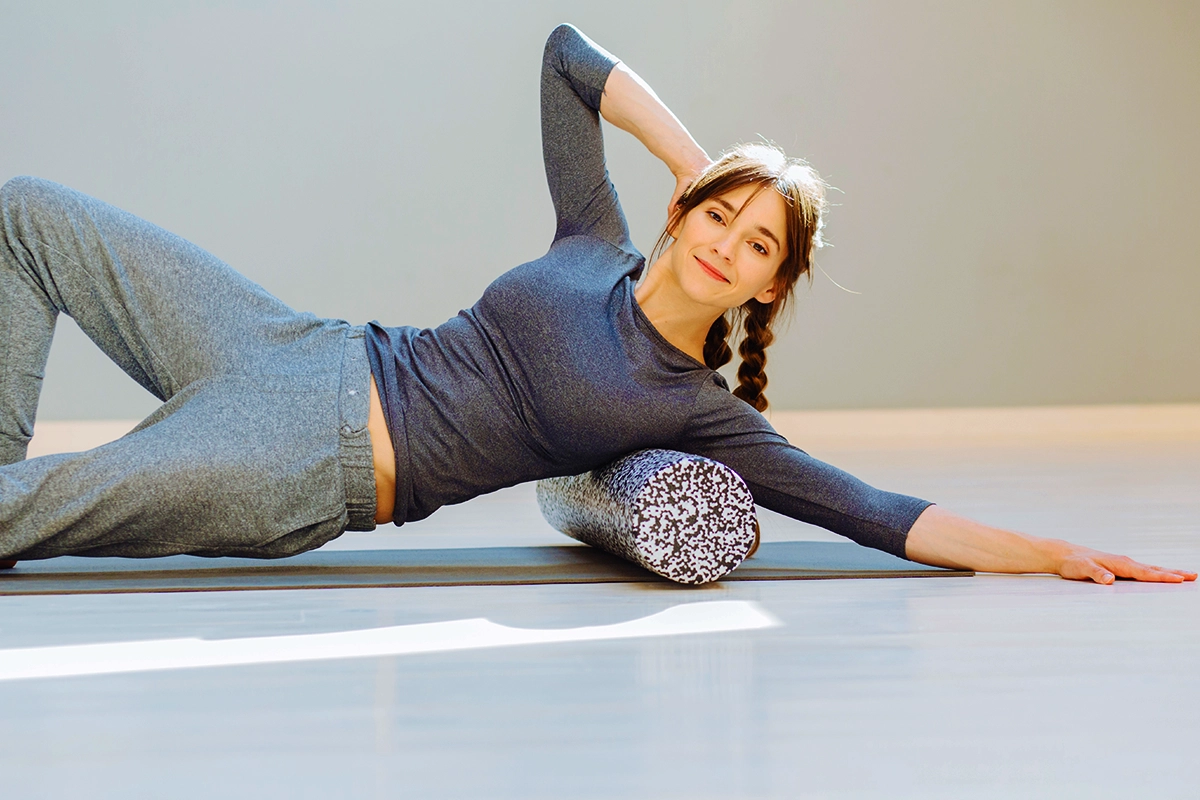
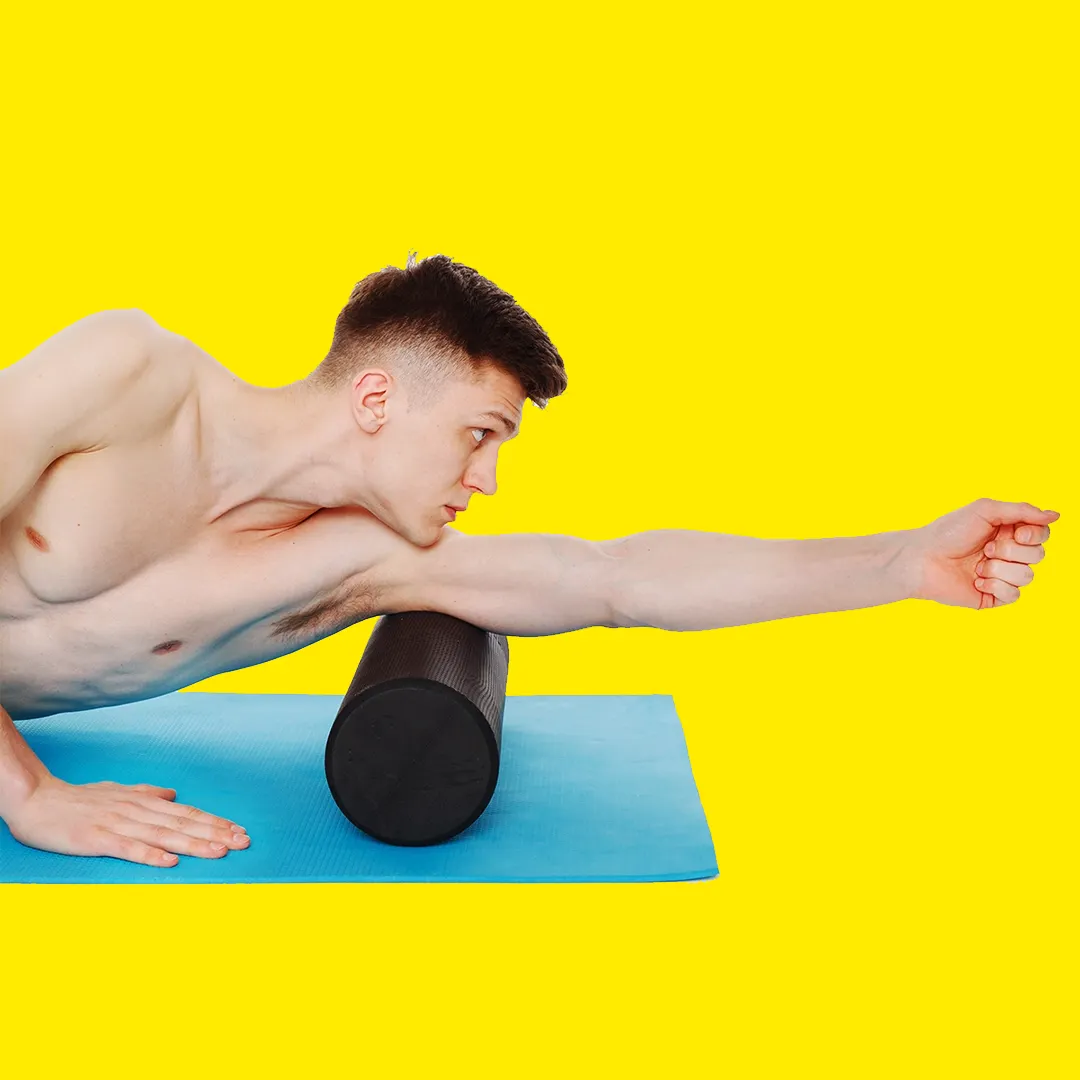
9. Triceps
Steps:
- Lie on your stomach with the foam roller positioned under one upper arm.
- Extend your arm straight out and place your head on the opposite arm for support.
- Roll the foam roller from your elbow towards your shoulder, applying pressure as needed.
- Repeat on the other arm.
Tips for Effective Foam Rolling
- Start slow: Begin with gentle pressure and gradually increase as you become more comfortable.
- Focus on tight areas: Spend extra time on areas that feel tense or sore.
- Breathe deeply: Relax your body and focus on your breathing while rolling.
- Consistency is key: Incorporate foam rolling into your routine regularly for optimal benefits.
Boost your recovery with foam rolling exercises to enhance flexibility, reduce soreness, and prevent injuries. Target key muscle groups like quads, hamstrings, and IT bands for peak performance.
Recovering from a sports injury or accident? Our O’Coach App For Sports Injury and Accident Rehab provides valuable insights and tips for a successful recovery. Download the O’Coach app for personalized rehab plans tailored to your specific needs.
